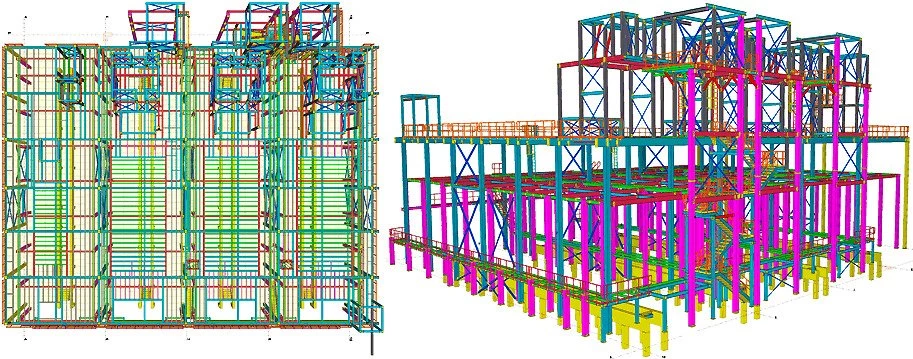
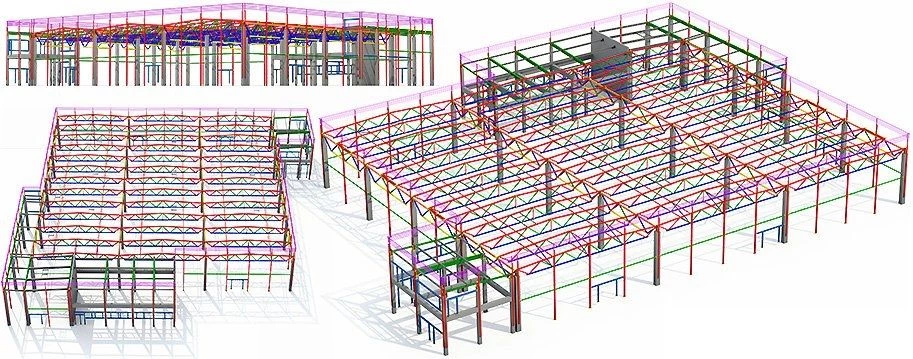
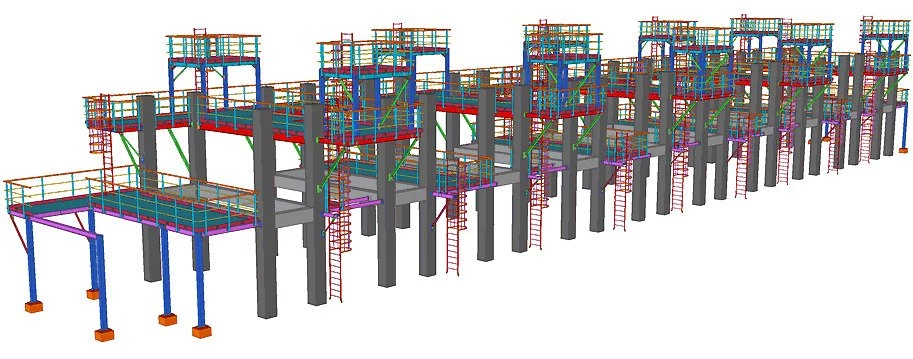
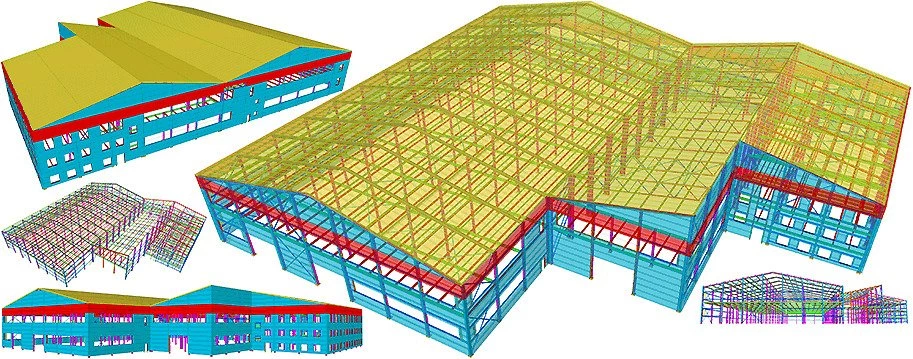
Select the courses you need. Complete Level 1 first, then take Levels 2–4 in any order to suit your work.
Level 1: Tekla Structures basic course
Tekla Structures basic course
Modelling, drawings and component basics
Who it’s for
For complete beginners and for engineers who know some Tekla tools but have not yet delivered a real project. Build a clear understanding of the workflow, including both modelling and drawing basics.
What you’ll learn and course outcomes
What you’ll learn
Navigate the interface, set up a model and organise your work.
Create and modify model objects using sound modelling practices.
Get an overview of components and how they support modelling.
Create basic drawings, add dimensions and prepare initial documentation.
After the course
Build a model and produce basic drawings using a consistent workflow, with a stronger foundation for your first real project.
Advanced
Level 2: Custom components in Tekla Structures
Custom components in Tekla Structures
Parametric custom components
Who it’s for
For engineers who have completed the basic course and want to automate repetitive modelling. Custom components are reusable building blocks with parameters—similar in principle to dynamic blocks in AutoCAD.
What you’ll learn and course outcomes
What you’ll learn
Create reusable custom components for connections and details.
Define dimensions, variables and rules to control component behaviour.
Make components adapt when model geometry or parameters change.
Apply and reuse your components across the structural model.
After the course
Model recurring connections more efficiently and reduce repetitive manual work when developing a complete 3D model.
Advanced
Level 3: Tekla Structures Advanced Training
Tekla Structures Advanced Training
Advanced modelling and drawing workflows
Who it’s for
For engineers who already work in Tekla Structures, often with 1–3 years of experience, but have not yet explored parametric modelling or the full range of drawing tools.
What you’ll learn and course outcomes
What you’ll learn
Use parametric tools and reusable solutions in everyday modelling.
Explore modelling features that improve speed and consistency.
Get more from drawing creation, editing and coordination with the model.
Refine your workflow using practical methods from real projects.
After the course
Benefit from our 16 years of practical Tekla experience and work more efficiently with both models and drawings.
Advanced
Level 4: System customisation and template creation
System customisation and template creation
Template Editor: reports and drawing tables
Who it’s for
For engineers who need reports and drawing tables that meet different clients’ documentation requirements. Focus on Tekla Template Editor, the tool for creating and adapting these templates.
What you’ll learn and course outcomes
What you’ll learn
Create and edit graphical templates for tables on drawings.
Build text templates for reports and material lists.
Work with template fields, layouts and formatting.
Adapt and check template output against client requirements.
After the course
Create and customise report templates and drawing tables supported by Tekla Structures, so you can meet each client’s documentation standards.
Course calculator
Select your courses, duration and group size. Add an electronic book set if you need one.
Choose one or more Tekla Structures courses and set the duration, group size and desired start date for each. The course end date is calculated automatically.
Group priceMinimum group fee covers up to 3 participants.
Level 4System customisation and template creationEssentials
Course end date
Group priceMinimum group fee covers up to 3 participants.
Tekla Structures modelling guideElectronic set of three English-language volumes · €89 per setAbout the books
Book price
Total for selected items1 course · 2 days · 16 hours · 1 book set
Start dates are optional. The estimated end date counts all calendar days, including weekends and the start date. Your instructor will confirm the actual schedule.
For 5- and 10-day courses: minimum fee for 3 participants, even if only 1 or 2 attend. The 10-day fee is twice the 5-day fee. All prices are per group.
Estimated total€539.00
How the training works
Live demonstrations, guided exercises and time to practise.
1. Agree how to connect
Before the course, your instructor contacts you using your preferred method. Together, you agree on a video-call service such as Zoom, Google Meet or another suitable platform.
2. Get started in Tekla Structures
The course begins with an introduction. Your instructor explains how to launch Tekla Structures and helps you get ready to follow the lesson.
3. Watch, then follow along
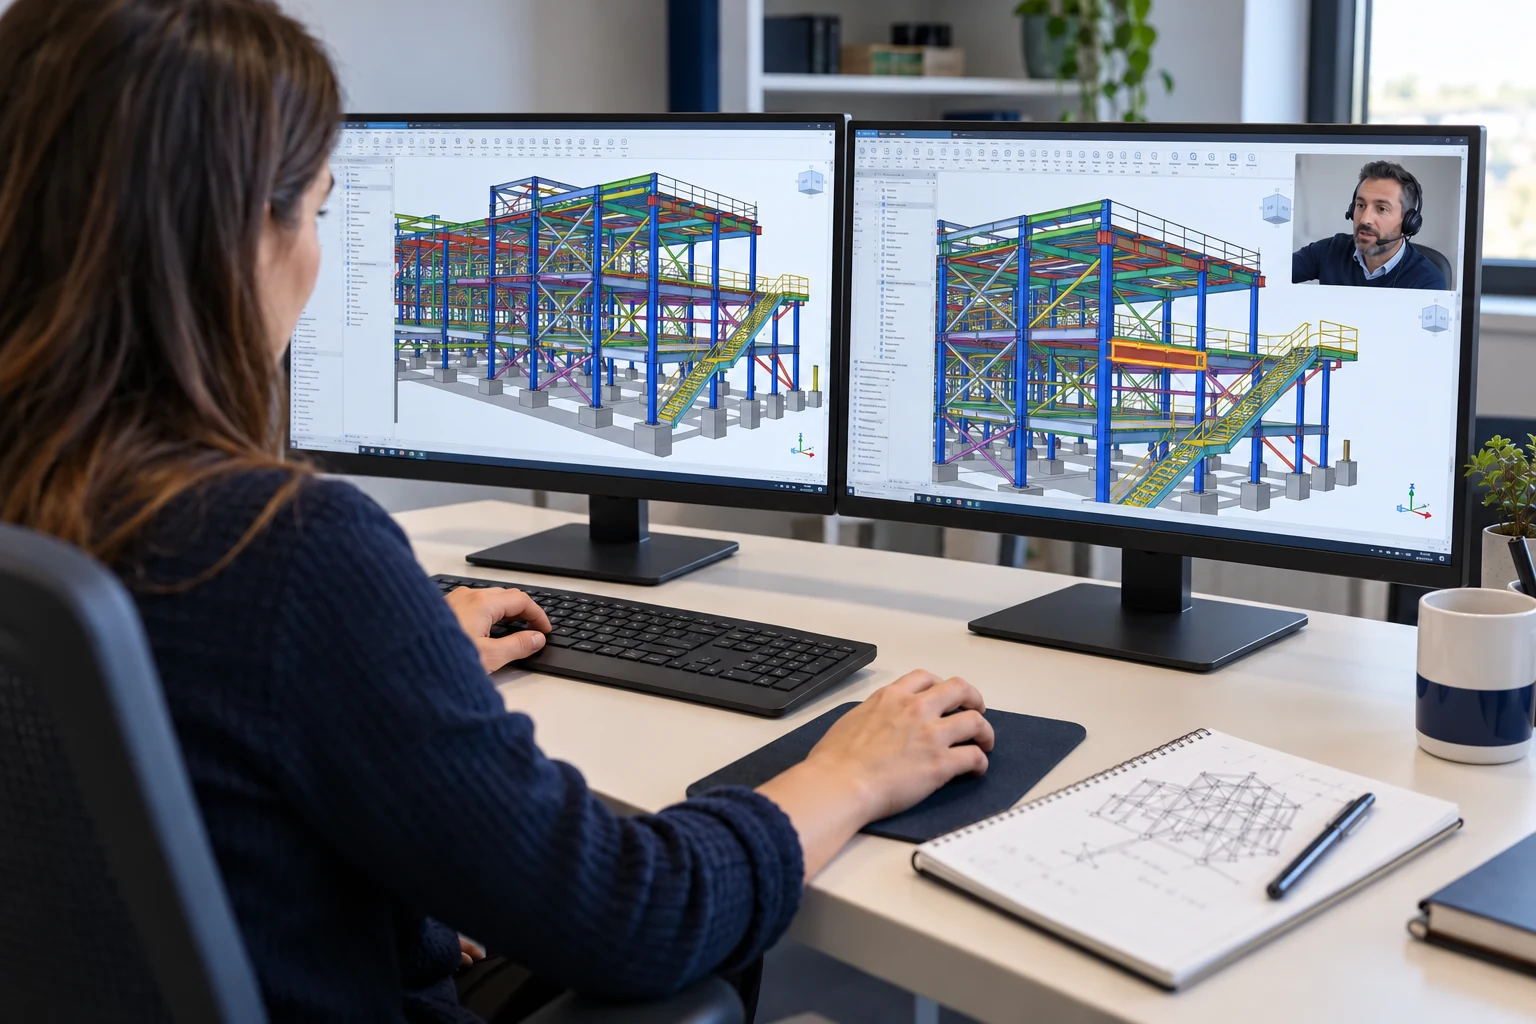
For each topic, your instructor demonstrates the tools and workflow. We normally use two monitors: one to watch the demonstration and the other to repeat the steps in Tekla Structures.
4. Put each topic into practice
After each topic, you complete a short practical exercise to apply what you have learned.
Practice time depends on your course
Some topics need more hands-on work than others. Your instructor plans the time for exercises around the topics covered and your chosen course duration.
Tekla Structures modelling guide
A practical reference to use during and after your training.
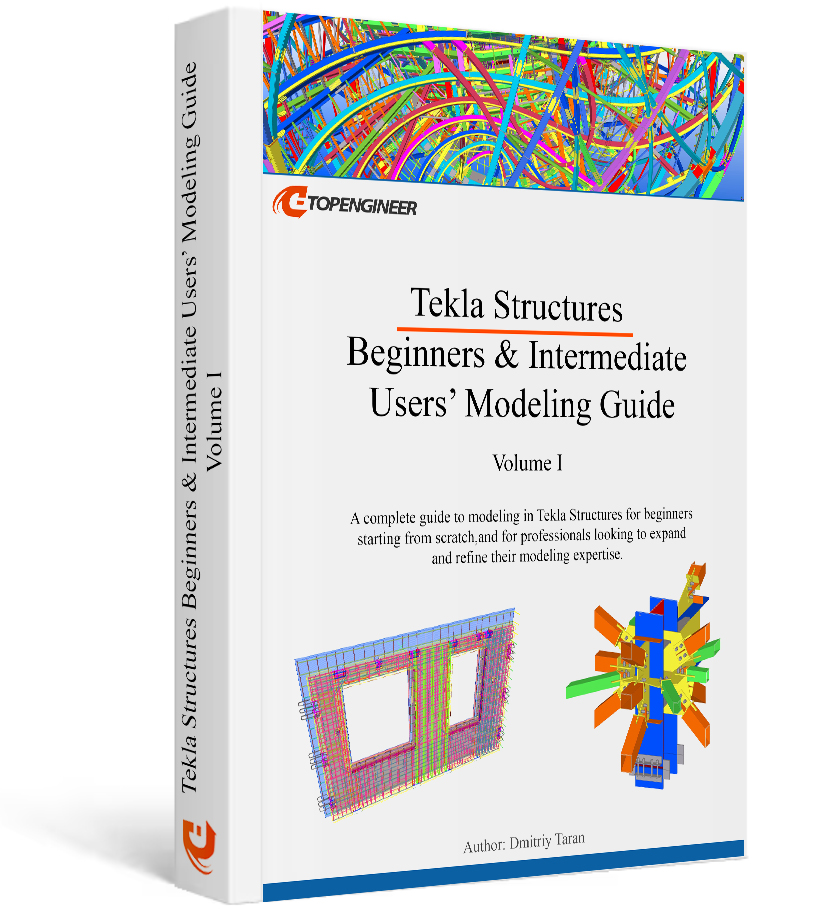
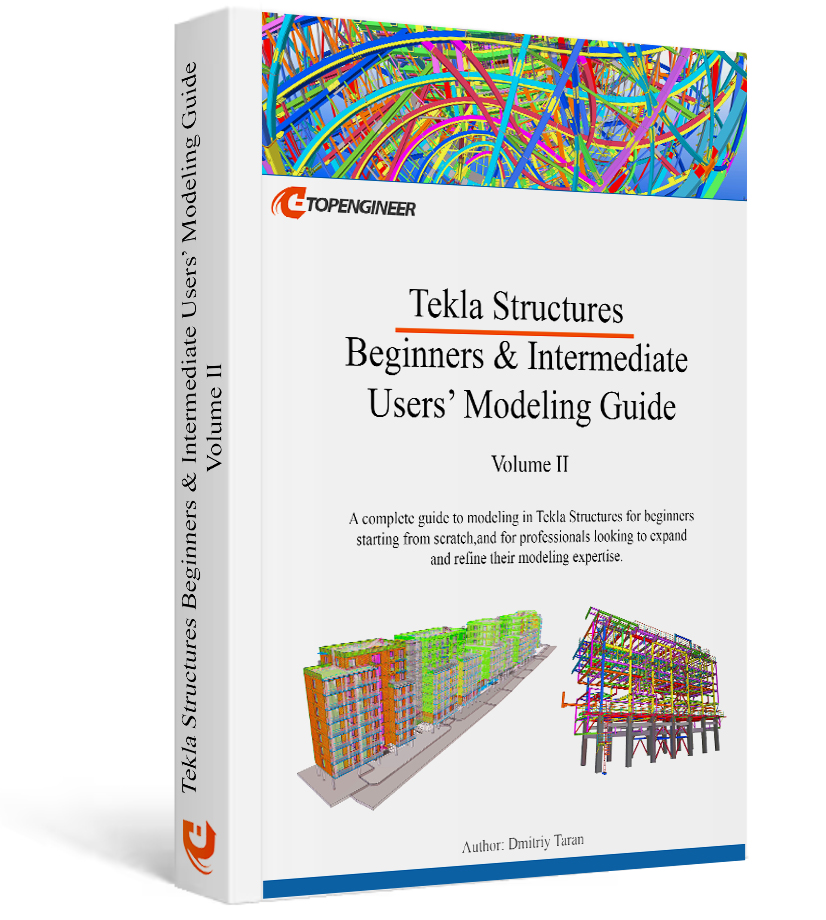
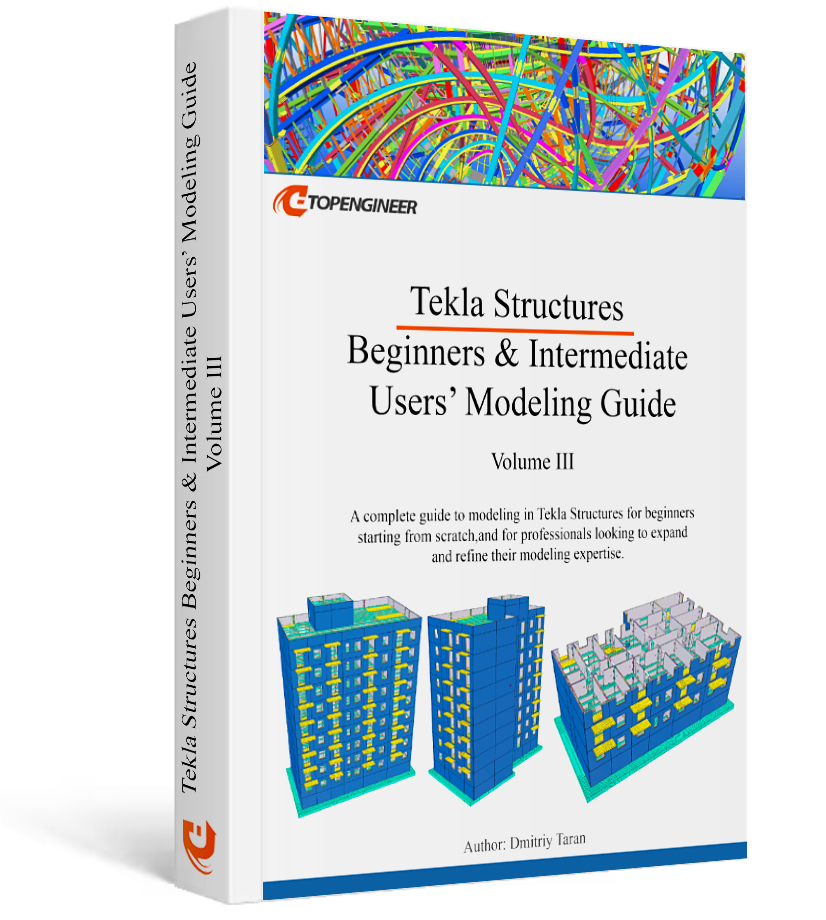
A three-volume guide for beginners and experienced users
Our guide combines step-by-step explanations, illustrations and practical exercises. Use it to review the tools introduced in your lessons and continue developing your skills on your own projects.
Getting started with Tekla Structures and the modelling workflow
Modelling steel and concrete structures, including reinforcement
Working with components and practising on project examples
Author: Dmitriy Taran · Set: three volumes
Available languages: English, Spanish, Chinese and other languages.
The complete electronic set of three English-language volumes costs €89. Add it to your training order or purchase the books separately.
Choose your training format
Hands-on practice makes the difference when introducing Tekla Structures into your company’s real project work.
2 days16 hours
Essentials · minimum practice
A compact, affordable introduction for individual engineers and students working with a limited budget.
Also suitable for learning a specific tool or a narrowly defined topic without covering the full course programme.
Focused demonstrations and short exercises introduce the essentials. Practice time is limited, so this format is best for getting started quickly.
5 days40 hours
In-depth training · more practice
For companies that need to train their engineers without a planned training budget.
Explore your chosen course in greater depth, with more guided practice, repetition and instructor feedback than the 2-day format.
A practical option when the full 10-day training and implementation programme is beyond the available budget.
Popular
10 days80 hours
Training + your own pilot project
5 days of training + 5 days of guided project work
Your team works on its own real project, producing drawings and documentation with your instructor’s guidance.
Designed for a full Tekla Structures rollout, with extensive practice, help with first-project issues and targeted lessons for your team.
Around 95% of our clients choose training with a pilot project.
Prepare your computer and connection before the first lesson.
Your instructor will contact you in advance using your preferred method to help you complete the setup. This preparation takes place before the course so that paid training time can be used for learning and practice.
1. Software and licences
Your instructor helps you install Tekla Structures and activate the required licences. The software must be installed and ready to use on each participant’s own computer before the first lesson.
We also agree in advance which plug-ins and additional software are needed for your company’s workflows.
2. Shared folders for groups
If more than one participant is attending, your instructor helps set up shared folders so that the group can access the files needed for training.
3. Audio and video checks
We check headphones and microphones, and cameras where needed. We also check that the agreed video-call service is working, to help avoid technical interruptions during the course.
Allow time for internal IT approvals
In larger organisations, approvals for software installation, shared-folder access and other IT permissions can take unexpectedly long because requests may need to pass through several departments. Please involve your IT team early and allow enough time to complete these steps before training starts.
Your certificate of completion
Three certificate types to reflect the duration of your completed training.
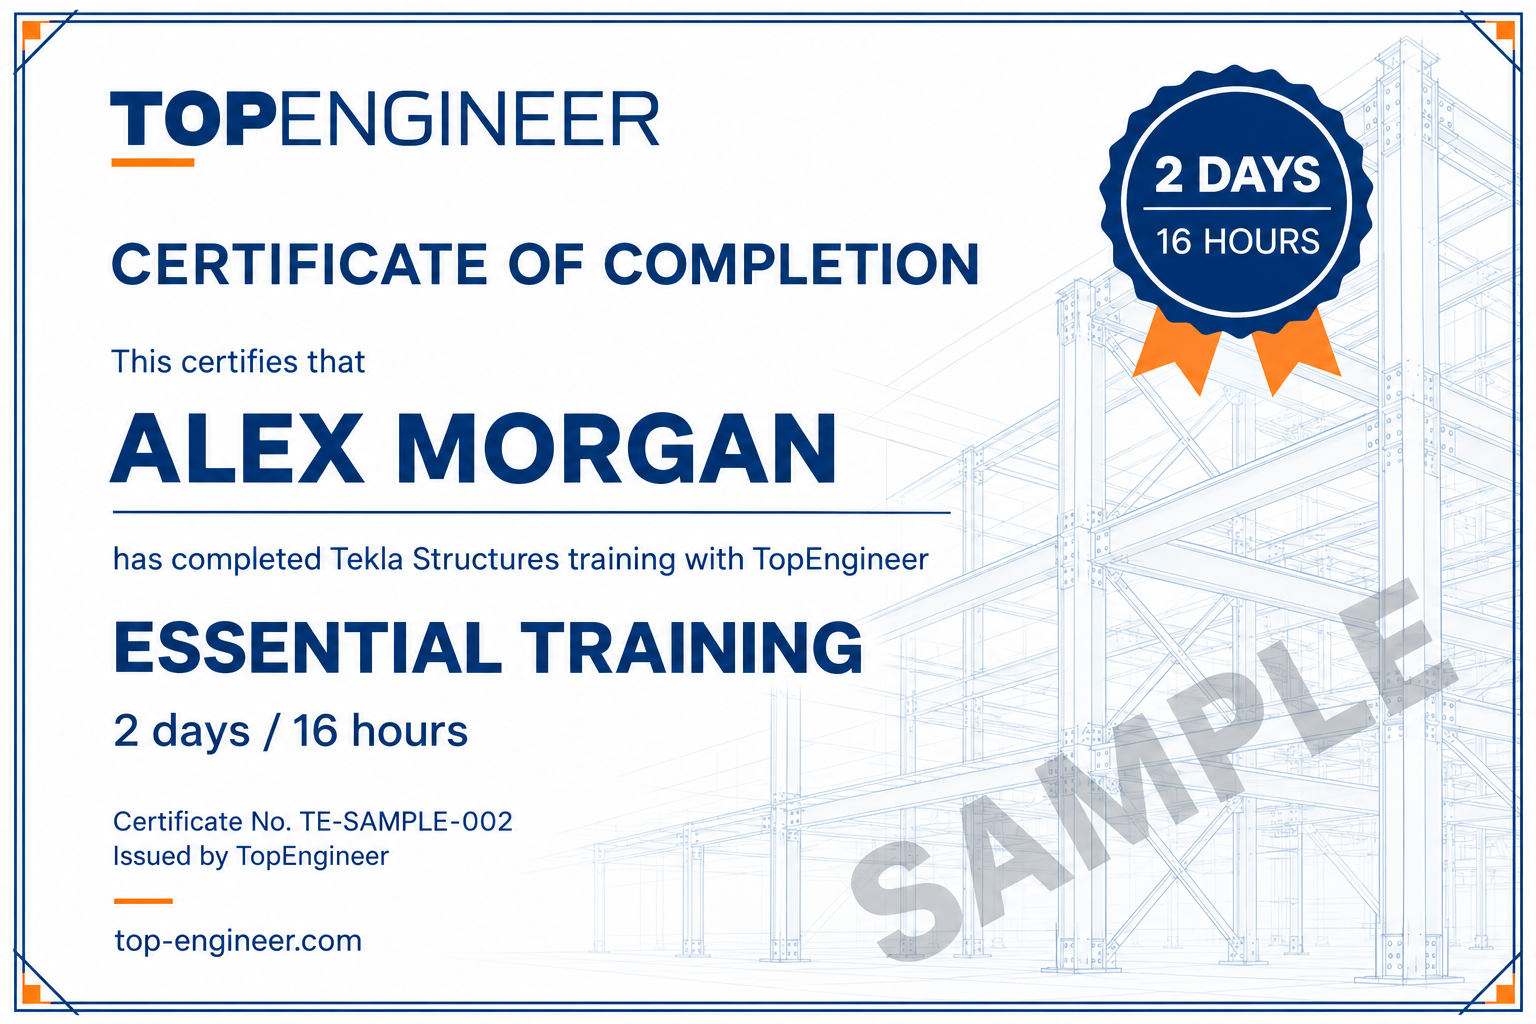
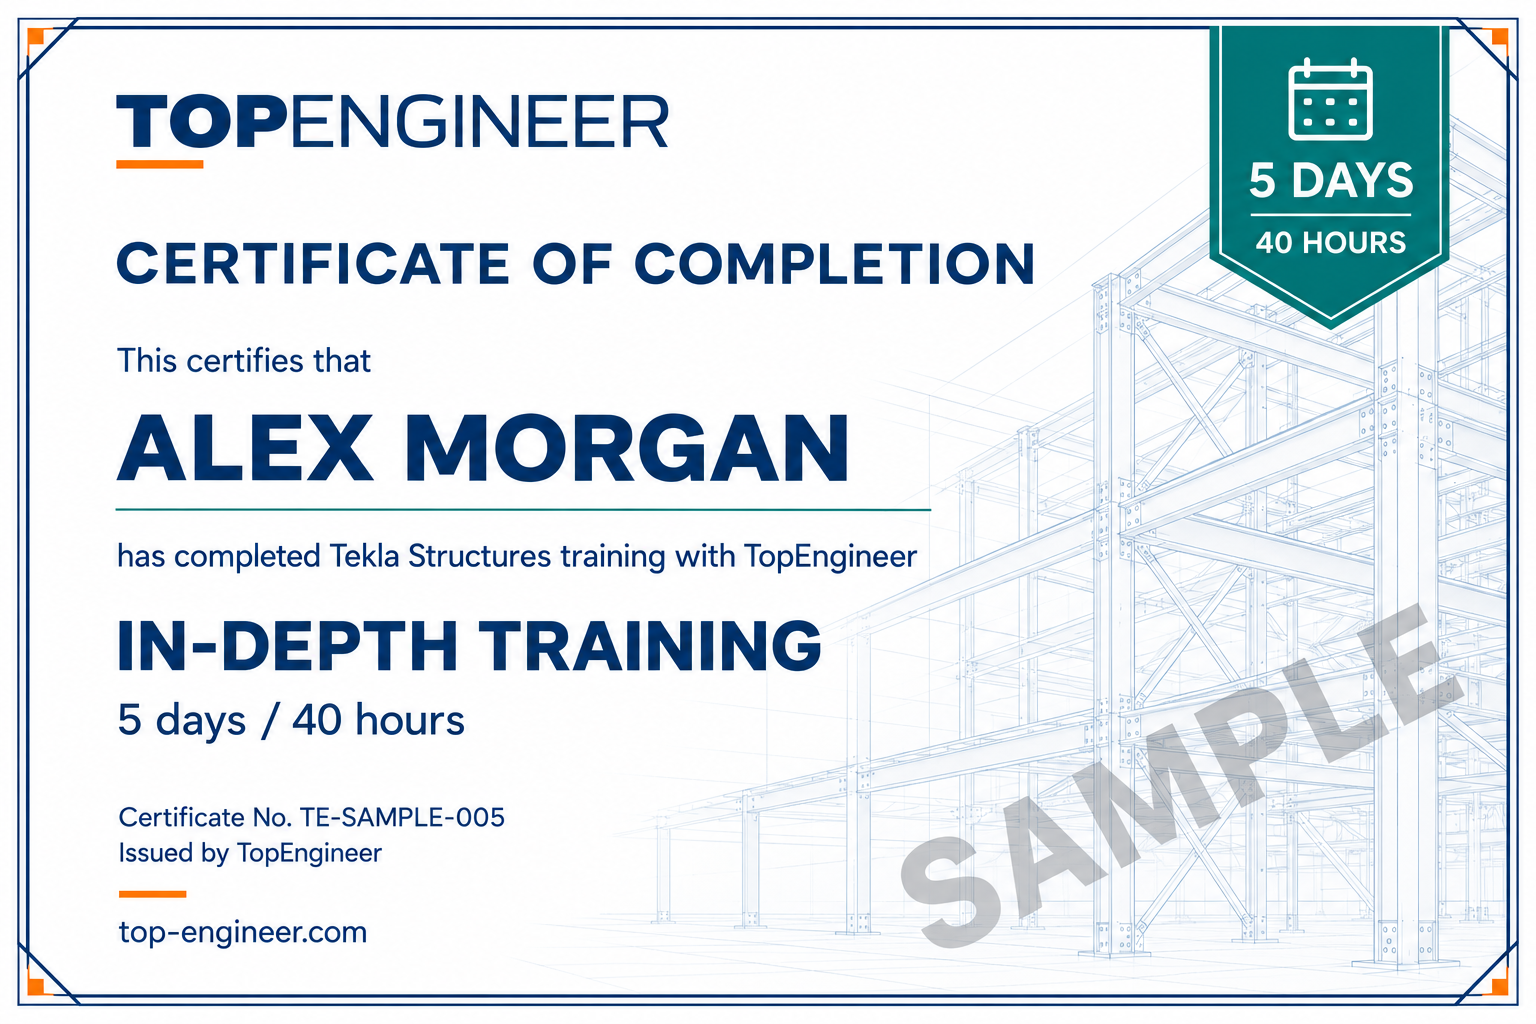
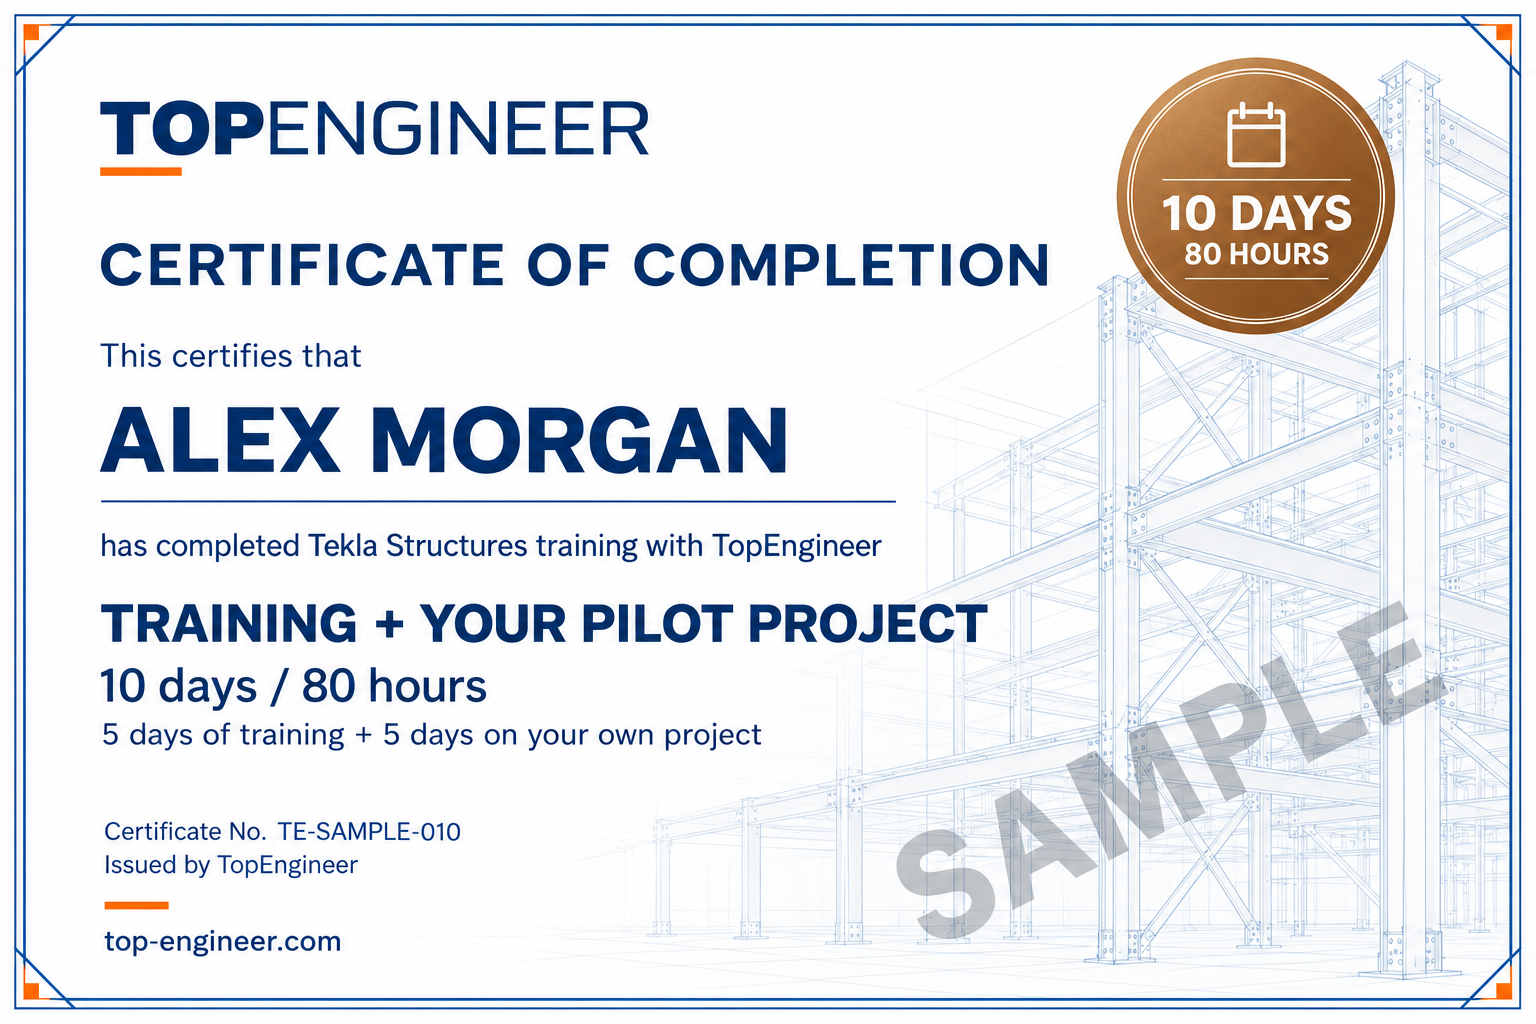
Sample certificates. Select a sheet or duration to view full size.
After completing your course, each participant receives a personalised digital certificate issued by TopEngineer. We offer three types, based on your training duration:
2 days · 16 hours
Essentials
5 days · 40 hours
In-depth training
10 days · 80 hours
Training + your pilot project
Your certificate records the course completed and your name, and has a unique certificate number. Keep the electronic version or print your own paper copy.
Support after your training
Help as you put your new skills into practice.
You keep your instructor’s direct contact details after the course and can ask follow-up questions via Telegram, WhatsApp or another agreed channel.
Free help with quick questions
If a question can be answered without a significant time commitment, your instructor will respond free of charge.
Hourly support for more involved work
If an issue requires your instructor’s direct involvement and substantial working time, we can provide paid technical support. The task and hourly rate are agreed with you before work starts.
Course programmes
Explore each course in two parts. Select a section heading to expand or collapse its topics.
Row content types and template attributes11 topics
1.25Using PART rows to report part information
1.26Using ASSEMBLY rows to report assembly information
1.27Using BOLT rows to report bolt information
1.28Using DRAWING rows to report drawing information
1.29Exploring content types for concrete, reinforcement and other objects
1.30Adding a value field and selecting a data attribute
1.31Using standard Tekla Structures template attributes
1.32Outputting part position, name, profile and material
1.33Outputting geometric properties and weight
1.34Displaying project information in the report header
1.35Outputting user-defined attributes (UDAs)
Value field formatting and a practical part list9 topics
1.36Setting a value field’s name and length
1.37Choosing data types: text, whole numbers and decimal numbers
1.38Setting measurement units and decimal places
1.39Formatting length, area, volume and weight values
1.40Setting alignment and multiline output
1.41Writing simple formulas with GetValue()
1.42Handling empty and zero values
1.43Practical exercise: creating a part list from scratch
1.44Checking reports for selected objects and for the entire model
Part 2
Rules, drawing tables and report export
44 topics
Sorting, combining rows and totals11 topics
2.1Reviewing Part 1 results and checking the part list for errors
2.2Understanding row sort types: None, Combine and Distinct
2.3Sorting value fields in ascending and descending order
2.4Setting the sorting priority of multiple value fields
2.5Combining identical rows and preventing duplicate output
2.6Calculating quantities and total weights for combined rows
2.7Using hidden fields for sorting and supporting calculations
2.8Using Sum(), Total() and Count() for summaries
2.9Creating group subtotals and overall totals
2.10Working with ASSEMBLY rows and nested PART rows
2.11Modifying and checking the row hierarchy
Row rules and conditional output10 topics
2.12Controlling row output with row rules
2.13Creating rules with Rule Wizard
2.14Writing conditional expressions with if / then / else / endif
2.15Using comparison operators and logical conditions
2.16Filtering parts by profile and material
2.17Controlling row processing with Output(), StepOver() and StepOut()
2.18Identifying the first and last rows with IsFirst() and IsLast()
2.19Comparing adjacent rows with PreviousValue() and NextValue()
2.20Outputting subtotals when a group changes
2.21Saving and reusing row rules (.pdr)
Formulas, formatting and additional UDAs8 topics
2.22Checking formula syntax and data types in the formula editor
2.23Working with strings using find(), mid() and length()
2.24Finding text with FindAny() in Tekla Structures 2026
2.25Concatenating strings to build composite identifiers
2.26Converting numeric strings and using them in calculations
2.27Rounding and formatting calculated values
2.28Changing measurement unit formatting conditionally
2.29Making additional UDAs available through objects.inp and contentattributes_*.lst
Practical reports and graphical drawing tables9 topics
2.30Controlling report headers, footers and page breaks
2.31Creating an assembly list with a breakdown of its parts
2.32Creating a bolt and fastener list
2.33Creating a drawing list with drawing identifiers and dates
2.34Using graphical tables in drawing layouts
2.35Creating a title block and a revision table
2.36Adding a graphical template to a drawing layout
2.37Adding logos, lines, symbols and other graphics
2.38Using graphical templates in drawing marks
HTML, Excel and the final project6 topics
2.39Creating an HTML report (.html.rpt)
2.40Preparing an Excel layout template (.xltx) in Microsoft Excel for Tekla Structures 2026
2.41Defining an Excel report’s data structure in an .xlsx.rpt template
2.42Mapping columns and exporting the final .xlsx file
2.43Checking Cyrillic text and UTF-8 encoding, and transferring templates between models
2.44Final project: producing a set of reports, checking the results and troubleshooting with AI assistance
Each course programme is organised into two parts. The teaching schedule and time for practical exercises are agreed with your instructor to suit your chosen course duration.
We will call you back
It is easy to order training courses, just leave your phone number and our consultant will call you back.